The most reliable way to test red light wavelength is to measure the device with an optical spectrometer or check a model-specific lab report that includes a spectral power distribution graph. DIY methods can help you spot obvious mismatches, but they are better for screening than proving a tight wavelength claim.
Why Test Red Light Wavelength Accuracy?
Wavelength testing matters because red light devices are often sold around specific numbers, such as 630 nm, 660 nm, 810 nm, or 850 nm. If the real peak is different from the claim, the device may still light up, but your comparison with other products or research-style use becomes less reliable.
Wavelength affects light penetration and intended use
The wavelength is one of the details that shapes how a red or near-infrared device is usually positioned. Visible red wavelengths around 630–660 nm are commonly discussed for more surface-level use, while near-infrared wavelengths around 800–850 nm are often associated with deeper tissue targets.
That does not make one number automatically better. A small skin-focused device, for example, may not need the same wavelength mix as a larger panel bought for muscles or joints. The useful question is whether the measured peak matches the purpose the product was sold for.
Incorrect wavelength claims can affect expectations
A bad wavelength claim can make a product look more comparable than it really is. If a panel is advertised as 660 nm but repeatedly measures far away from that range, the buyer may be basing session choices, distances, or expectations on the wrong specification.
This is most important when you are buying a device for long-term use. For a cheap one-off experiment, rough confidence may be enough. For a device you plan to use regularly or compare against research-backed wavelength ranges, verified data becomes much more valuable.
Verification helps compare devices accurately
Verification gives you something better than product photos, brightness claims, or vague words like "deep red." When two devices claim the same wavelength, the better comparison is the one with measured output tied to the exact model.
- Check the peak: does the main reading land near the advertised wavelength?
- Check the graph: is the output narrow and centered, or broad and spread out?
- Check the source: is the data from your exact model, not a generic brand chart?
- Check repeatability: do several readings point to the same answer?
Best Tools for Measuring Red Light Wavelength
The right tool depends on how much confidence you need. A buyer doing a quick sanity check can use a simpler setup. Someone deciding whether a product claim is trustworthy should use a spectrometer or a credible lab report.
Handheld optical spectrometers
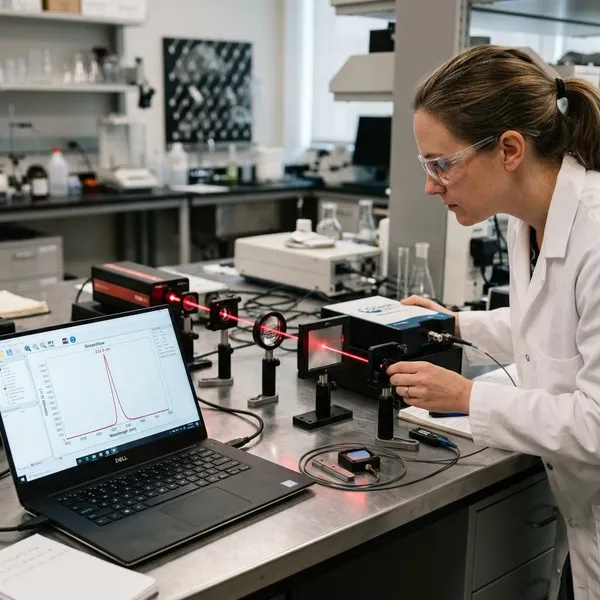
A handheld optical spectrometer is usually the best practical tool for measuring red light wavelength yourself. It reads the emitted spectrum and shows the peak wavelength in nanometers, which is the number you compare with the product claim.
For visible red, a decent spectrometer can usually tell whether a device is near 630 nm or 660 nm. For near-infrared, make sure the instrument is actually designed to read the NIR range you care about. Not every low-cost spectrometer covers 810 nm or 850 nm well.
Third-party laboratory testing reports
A strong lab report can be almost as useful as measuring the device yourself, especially before you buy. The report should name the exact model, show the test conditions, and include a spectral power distribution graph rather than only a marketing statement.
Be cautious with broad brand charts. A graph that does not identify the model, production version, or testing setup is weak evidence. If you are comparing two expensive panels, a recent model-specific report is a better trust signal than polished product copy.
Smartphone spectrometer attachments
Smartphone spectrometer attachments can be useful for visible red screening. They typically use a small diffraction element and an app to estimate the spectrum captured by the phone camera.
The limitation is calibration. Phone cameras, exposure settings, and app processing can shift the result, so this setup is not ideal for judging a narrow tolerance. Treat it as a way to catch obvious problems, not as final proof.
Diffraction grating tools for basic testing
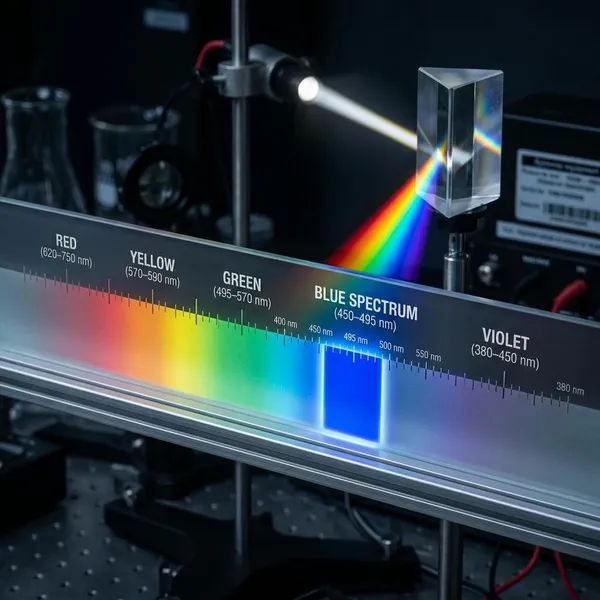
A diffraction grating can estimate visible wavelength by spreading light into a pattern. If you know the grating spacing and measure the angle carefully, you can calculate an approximate wavelength.
This method is cheap and educational, but it becomes messy with large multi-LED panels because patterns can overlap. It is also poor for near-infrared unless you have a setup that can detect NIR safely and reliably.
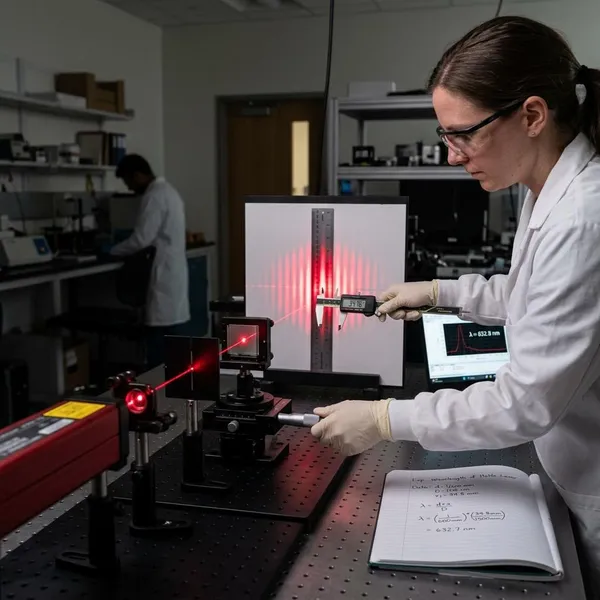
How to Measure Red Light Wavelength Step by Step
A useful measurement is repeatable, not just a single number that appears once. Keep the room, distance, angle, and device mode consistent so you can tell whether the reading reflects the light source or your setup.
Prepare the device and testing environment
Use a dim room, reduce reflections, and make sure the device is in the mode you want to test. If the panel has separate red and near-infrared channels, test them separately when possible instead of measuring a mixed output and guessing which peak belongs to which channel.
- Turn off competing light: room light can distort weaker tools.
- Let the device stabilize: follow any warm-up guidance from the manufacturer.
- Clean the surface: dust or smudges can affect the light path.
- Record the mode: red-only, NIR-only, or combined output changes the reading.
Position the measurement sensor correctly
Place the sensor squarely in front of the active light area and keep it still. A tilted sensor or changing distance can make readings less consistent, especially with lower-cost tools.
For a small handheld device, one centered reading may be enough for a first check. For a larger panel, test the center and at least one or two off-center spots, because output can vary across the surface.
Record the peak wavelength reading
Write down the peak wavelength, not just the color you see. If your tool shows a spectrum graph, save a screenshot and note whether there is one clear peak or several peaks.
Also record the testing details: distance, angle, room lighting, panel mode, and tool used. Those notes matter later if a brand asks how you tested the device or if you repeat the measurement after moving the setup.
Compare results with manufacturer specifications
Compare the measured peak with the advertised number and any model-specific SPD graph. With a decent spectrometer, a result within roughly ±5 nm of the claim is often a reasonable practical sign, though the acceptable range depends on the device, tool accuracy, and manufacturer tolerance.
Repeat measurements for consistency
Run the test three to five times under the same conditions before making a judgment. If the readings cluster close together, your setup is probably stable. If they jump around, fix the test method before blaming the device.
DIY Ways to Test Red Light Wavelength at Home
DIY testing is useful when you want a quick check without buying professional equipment. It can help you decide whether a claim seems believable, but it should not be treated as a certificate of accuracy.
Using smartphone-based spectrometer tools
A phone-based spectrometer setup can estimate visible red wavelengths well enough to flag a large mismatch. This is a sensible option if you bought a budget device and only want to know whether the red output is roughly in the expected area.
Using diffraction gratings for wavelength estimation
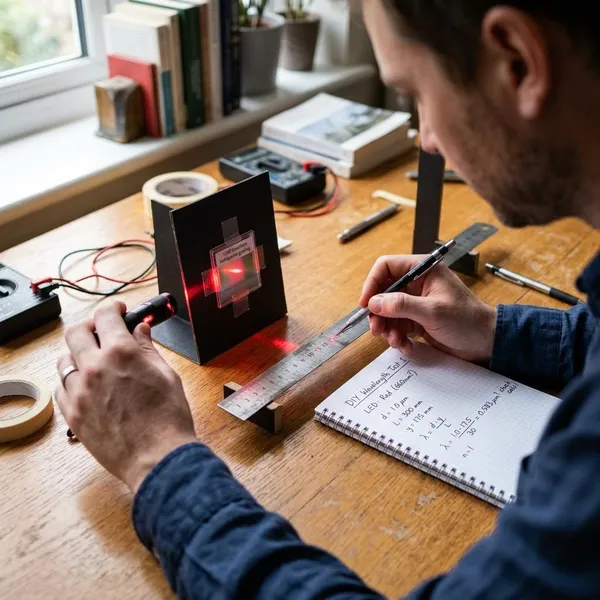
A diffraction grating works best with a simple visible red source, a dark room, and careful measurements. It can show whether the light is broadly in the red range, but it takes patience to avoid geometry errors.
Understanding DIY accuracy limitations
DIY methods are best for low-risk screening. A phone setup may be off by around 10 nm or more depending on the phone, app, lighting, and calibration. A grating setup can also drift if the distance or grating specification is wrong.
Use DIY results like a traffic light:
- Close and consistent: reassuring, but not final proof.
- Far from the claim: ask for better documentation.
- Unstable readings: improve the setup before deciding anything.
For regular long-term use or an expensive purchase, DIY testing should be a first step, not the final check.
How to Judge Whether a Wavelength Reading Is Accurate
The reading matters only if the method is trustworthy and the result is repeatable. A calibrated spectrometer reading, a phone estimate, and a vague manufacturer chart should not be given the same weight.
Comparing results with acceptable tolerance ranges
Exact agreement is not always realistic. LEDs and measuring tools both have tolerances, so judge the result as a range rather than expecting the advertised number to appear perfectly every time.
As a practical rule, repeated spectrometer readings close to the advertised peak are more meaningful than one perfect-looking reading. With weaker tools, use a wider margin and focus on obvious mismatches.
Checking whether measured peaks match advertised values
If a device claims 660 nm and 850 nm, the measured spectrum should show peaks near those neighborhoods. A missing peak, a large shift, or a graph that does not match the product claim is a reason to be cautious.
- Good sign: repeated peaks near the advertised values.
- Weak sign: only vague wording such as "red" or "infrared."
- Warning sign: a claimed wavelength with no model-specific data.
Separating wavelength accuracy from overall device quality
A correct wavelength does not automatically mean the whole device is good. A panel can hit the advertised peak and still have weak irradiance, uneven coverage, poor cooling, or unreliable construction.
The better buying decision is layered: first verify that the wavelength claim is believable, then look at power output, coverage area, build quality, warranty, and support. Wavelength is a key check, but it is not the only check.
Conclusion
If you only need a quick sanity check, a phone attachment or diffraction grating can help you spot obvious wavelength problems. If the result will affect a purchase, a refund decision, or long-term use, rely on a proper spectrometer or a credible model-specific lab report; a believable red light device should be able to show more than a bright glow and a marketing number.